Automatic LAMP (Linux, Apache, MySQL and PHP) In about 20 minutes, the time it takes to install Ubuntu Edgy Server Edition, you can have a LAMP server up and ready to go. This feature, exclusive to Ubuntu Server Edition, is available at the time of installation.
The LAMP option saves the trouble of installing and integrating each of the four separate LAMP components, a process which can take hours and requires someone who is skilled in the installation and configuration of the individual applications. You get increased security, reduced time to install, and reduced risk of misconfiguration, all of which results in a lower cost of ownership.
Ubuntu LAMP server Install the following Versions
Ubuntu Edgy Eft 6.10
Apache 2.0.55
Mysql 5.0.24a
PHP 5.1.6
First you need to download server version of Ubuntu version from here after that you create a CD and start booting with the CD Once it starts booting you should see the following screen in this you need to select second option "Install to the Hard disk Option" and press enter

Choose you language and press enter you can see we have selected english in the follwoing screen

Choose your location and press enter you can see we have have selected United Kingdom in the follwoing screen

If you want to try to have your keyboard layout detected by pressing a series of keys you need to select yes option and if you don't want that and you want to choose from a list click no in this example we have selected no and press enter

Select Origin of keyboard and press enter

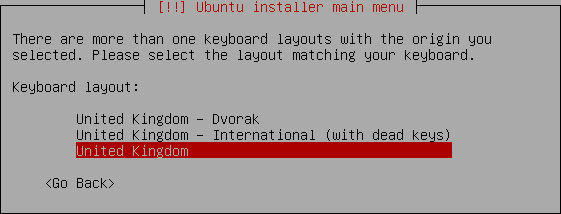
Select keyboard layout and press enter
Detecting hardware to find CD-ROM Drivers in progress

Scanning CD-ROM in Progress

Loading additional components progress bar

Configures the network with DHCP if there is a DHCP server in the network

Enter the Hostname of the system so in this example i enter here as ubuntulamp

Detecting Disks and Hardware in progress

Startingup the partitioner in progress

you have to partition your hard disk in this i have selected manually edit the partition table and press enter

It will show you the hard disk space and press enter here i am using vmware with 10.7GB of space

Create a New partition table on the device select yes and press enter

Now you can see the freespace and press enter

How to use this freespace select create a new partition and press enter

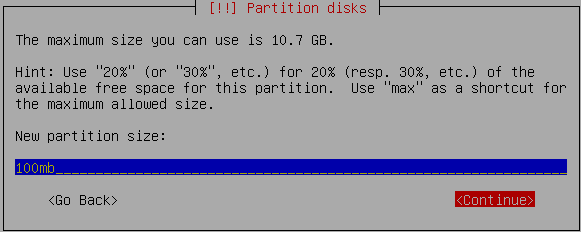
Enter the new patition size and press continue i have entered 100mb in this example
Select the type of the partition and press enter in this example i have selected primary

Location for the new partition as begining and press enter

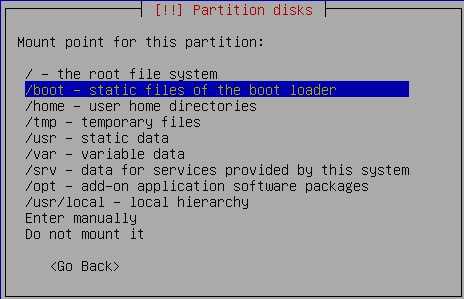
Now you need to select the mount point with the following screen and press enter to change mount point

Now you can see the available mount points and here i have selected /boot mount point and press enter
Now you should see the following screen and here you need to select "Done Setting Up the Partition" option and press enter This will create the /boot mount point with 100mb of space and you can create the / mount point in the same way with the existing space.

you can see this in the following screen here you need to select "Finish partitioning and write changes to disk" option and press enter

Write the changes to disk option here you need to select yes and press enter

Creating ext3 filesystem in progress

Configuring the clock option here if you want to leave UTC Select yes otherwise no and press enter

You need enter the Full name of the user you want to create for your server in this example i have created administrator user select continue and press enter

username for your account in this i have entered test select continue and press enter

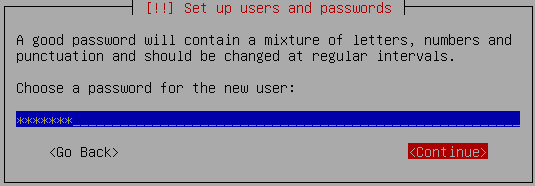
Entered the password for test user select continue and press enter
Confirm the password for test user select continue and press enter

Installing the base system in progress

Configuring package mirror this will be related to your country option

Now it will start Installing software and here you need to select the server options if you want DNS or LAMP i have selected as LAMP for our LAMP server installation

Software Installation in Progress

Installing GRUB Boot loader in progress

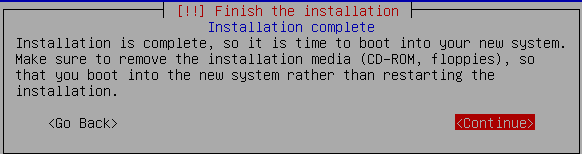
Installation complete message here you need to remove your CD select continue and press enter it will reboot your server
After rebooting you can see the following screen prompt for username

This will complete the Ubuntu LAMP Server Installation and your server is ready for installing applications which supports apache,mysql and php.
Configuring Static ip address in Ubuntu server
Ubuntu installer has configured our system to get its network settings via DHCP, Now we will change that to a static IP address for this you need to edit Edit /etc/network/interfaces and enter your ip address details (in this example setup I will use the IP address 172.19.0.10):
sudo vi /etc/network/interfaces
and enter the following save the file and exit
# The primary network interface
auto eth0
iface eth0 inet static
address 172.19.0.10
netmask 255.255.255.0
network 172.19.0.0
broadcast 172.19.0.255
gateway 172.19.0.1
Now you need to restart your network services using the following command
sudo /etc/init.d/networking restart
You need to setup manually DNS servers in resolv.conf file when you are not using DHCP.
sudo vi /etc/resolv.conf
You need to add look something like this
search domain.com
nameserver xxx.xxx.xxx.xxx
Install SSH Server
If you want to access your server remotely through SSH you need to install SSH server for this you need to run the following command
sudo apt-get install ssh openssh-server
You will be prompted to insert the installation CD again and this will complete SSH server in your edgy lamp server.
This is really simple and easy server installation for new users and who wants a quick server.
One small Observation i have noticed in edgy LAMP installation and dapper LAMP installation was choosing LAMP server option is available in dapper at the time of booting your server CD and in edgy you need to select LAMP server option at the time of software installation.
This might be useful for users who might think there is no LAMP server option at the time of start booting their Edgy server CD.
After completing your Edgy LAMP Server Installation some of users may not be comfortable with command prompt for those users they can install webmin for their server web interface to configure apache,mysql servers.


